Rework Workshop - How to turn your old clothes into reusable grocery bags!
The following is a step by step guide for giving your old, unwanted textiles new life. I hope that this will bring a new layer to your consumption experience and allow you to view your clothes as more than just something you wear a few times before binning or donating. The Vinnies of the world are overflowing with our unwanted clothing, which unfortunately means that over 50% of our donated textiles don’t make it into stores, they go straight to landfill. In fact Australian’s alone donate over 1 million of goods to charities each year, 588,000 tonnes are diverted to landfill ("Fast Facts – Nacro", 2019).
So making the most out of the textiles that we have and using them to their full potential will have a better impact on this planet than simply donating an item.
What makes this particular project exciting is that not only are we saving this shirt from landfill, but also the future and ongoing use of these grocery bags will create less plastic consumption and waste as well.
So let’s get into the DIY.

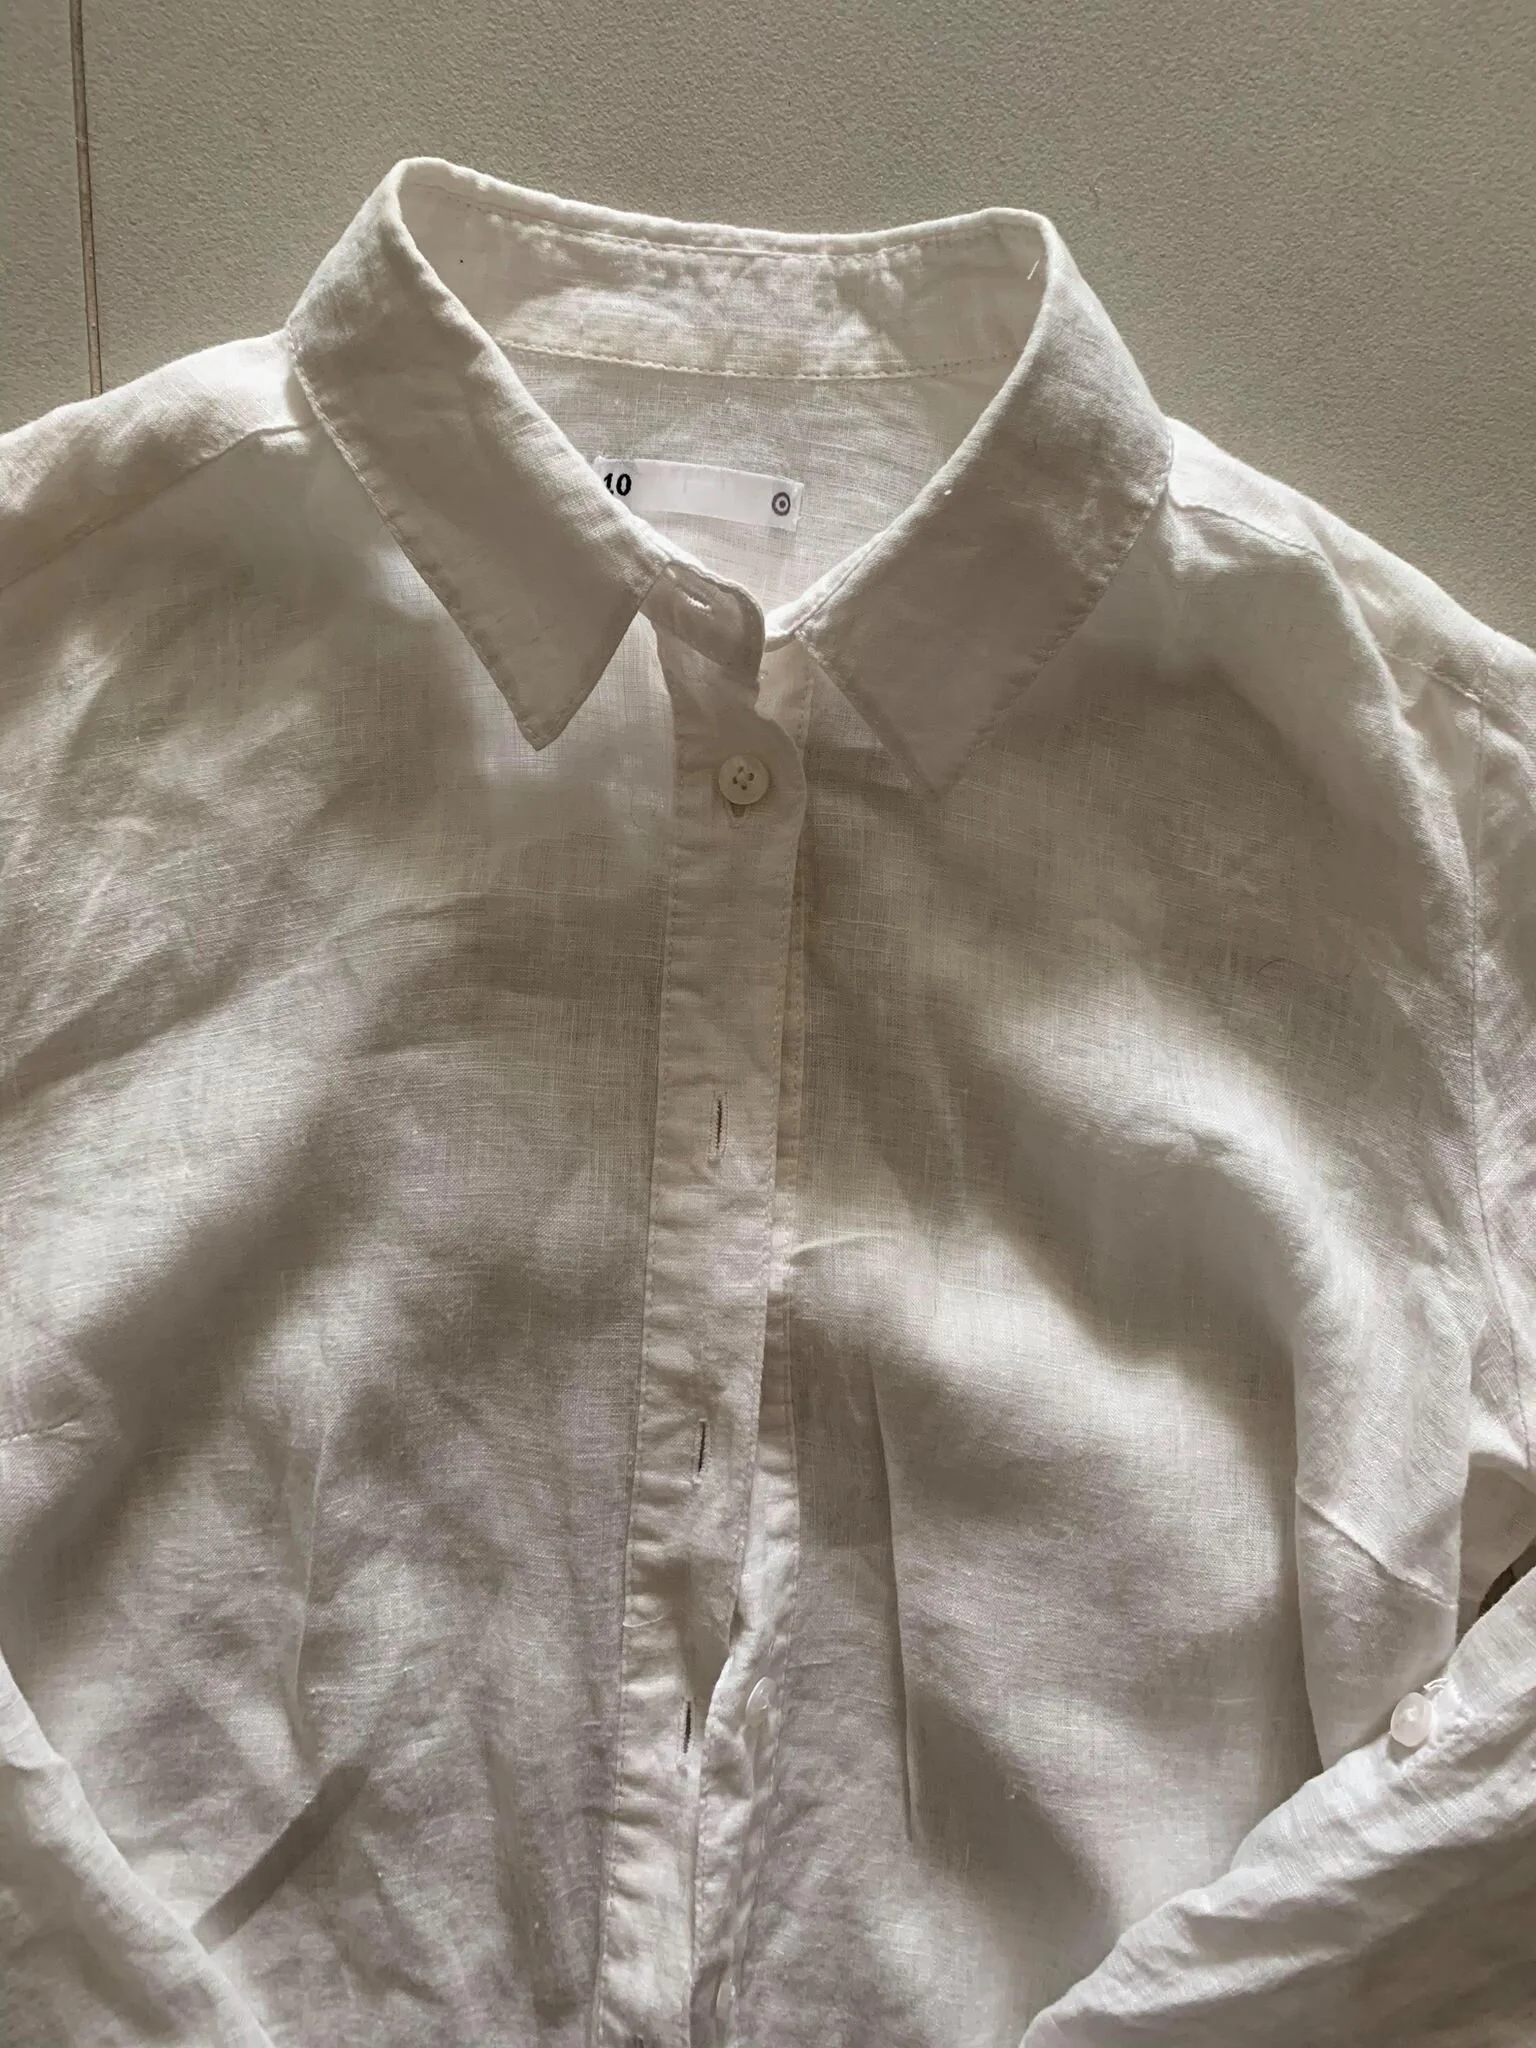
Step 1: Select the item you would like to rework. For this particular project it is beneficial if the fabric is made from natural fibres like cotton, linen or hemp. As this fabric will be in direct contact with your food, it is better for it not to have any harsh chemicals or dyes. We are going to utilise as much of the fabric as possible so nothing goes to waste so choose an item with a good amount of fabric.


Step 2: Make a plan. We don’t want to waste any of this fabric, so planning before cutting is a good idea. We want to get the maximum amount of squares/rectangles possible to make our grocery bags.
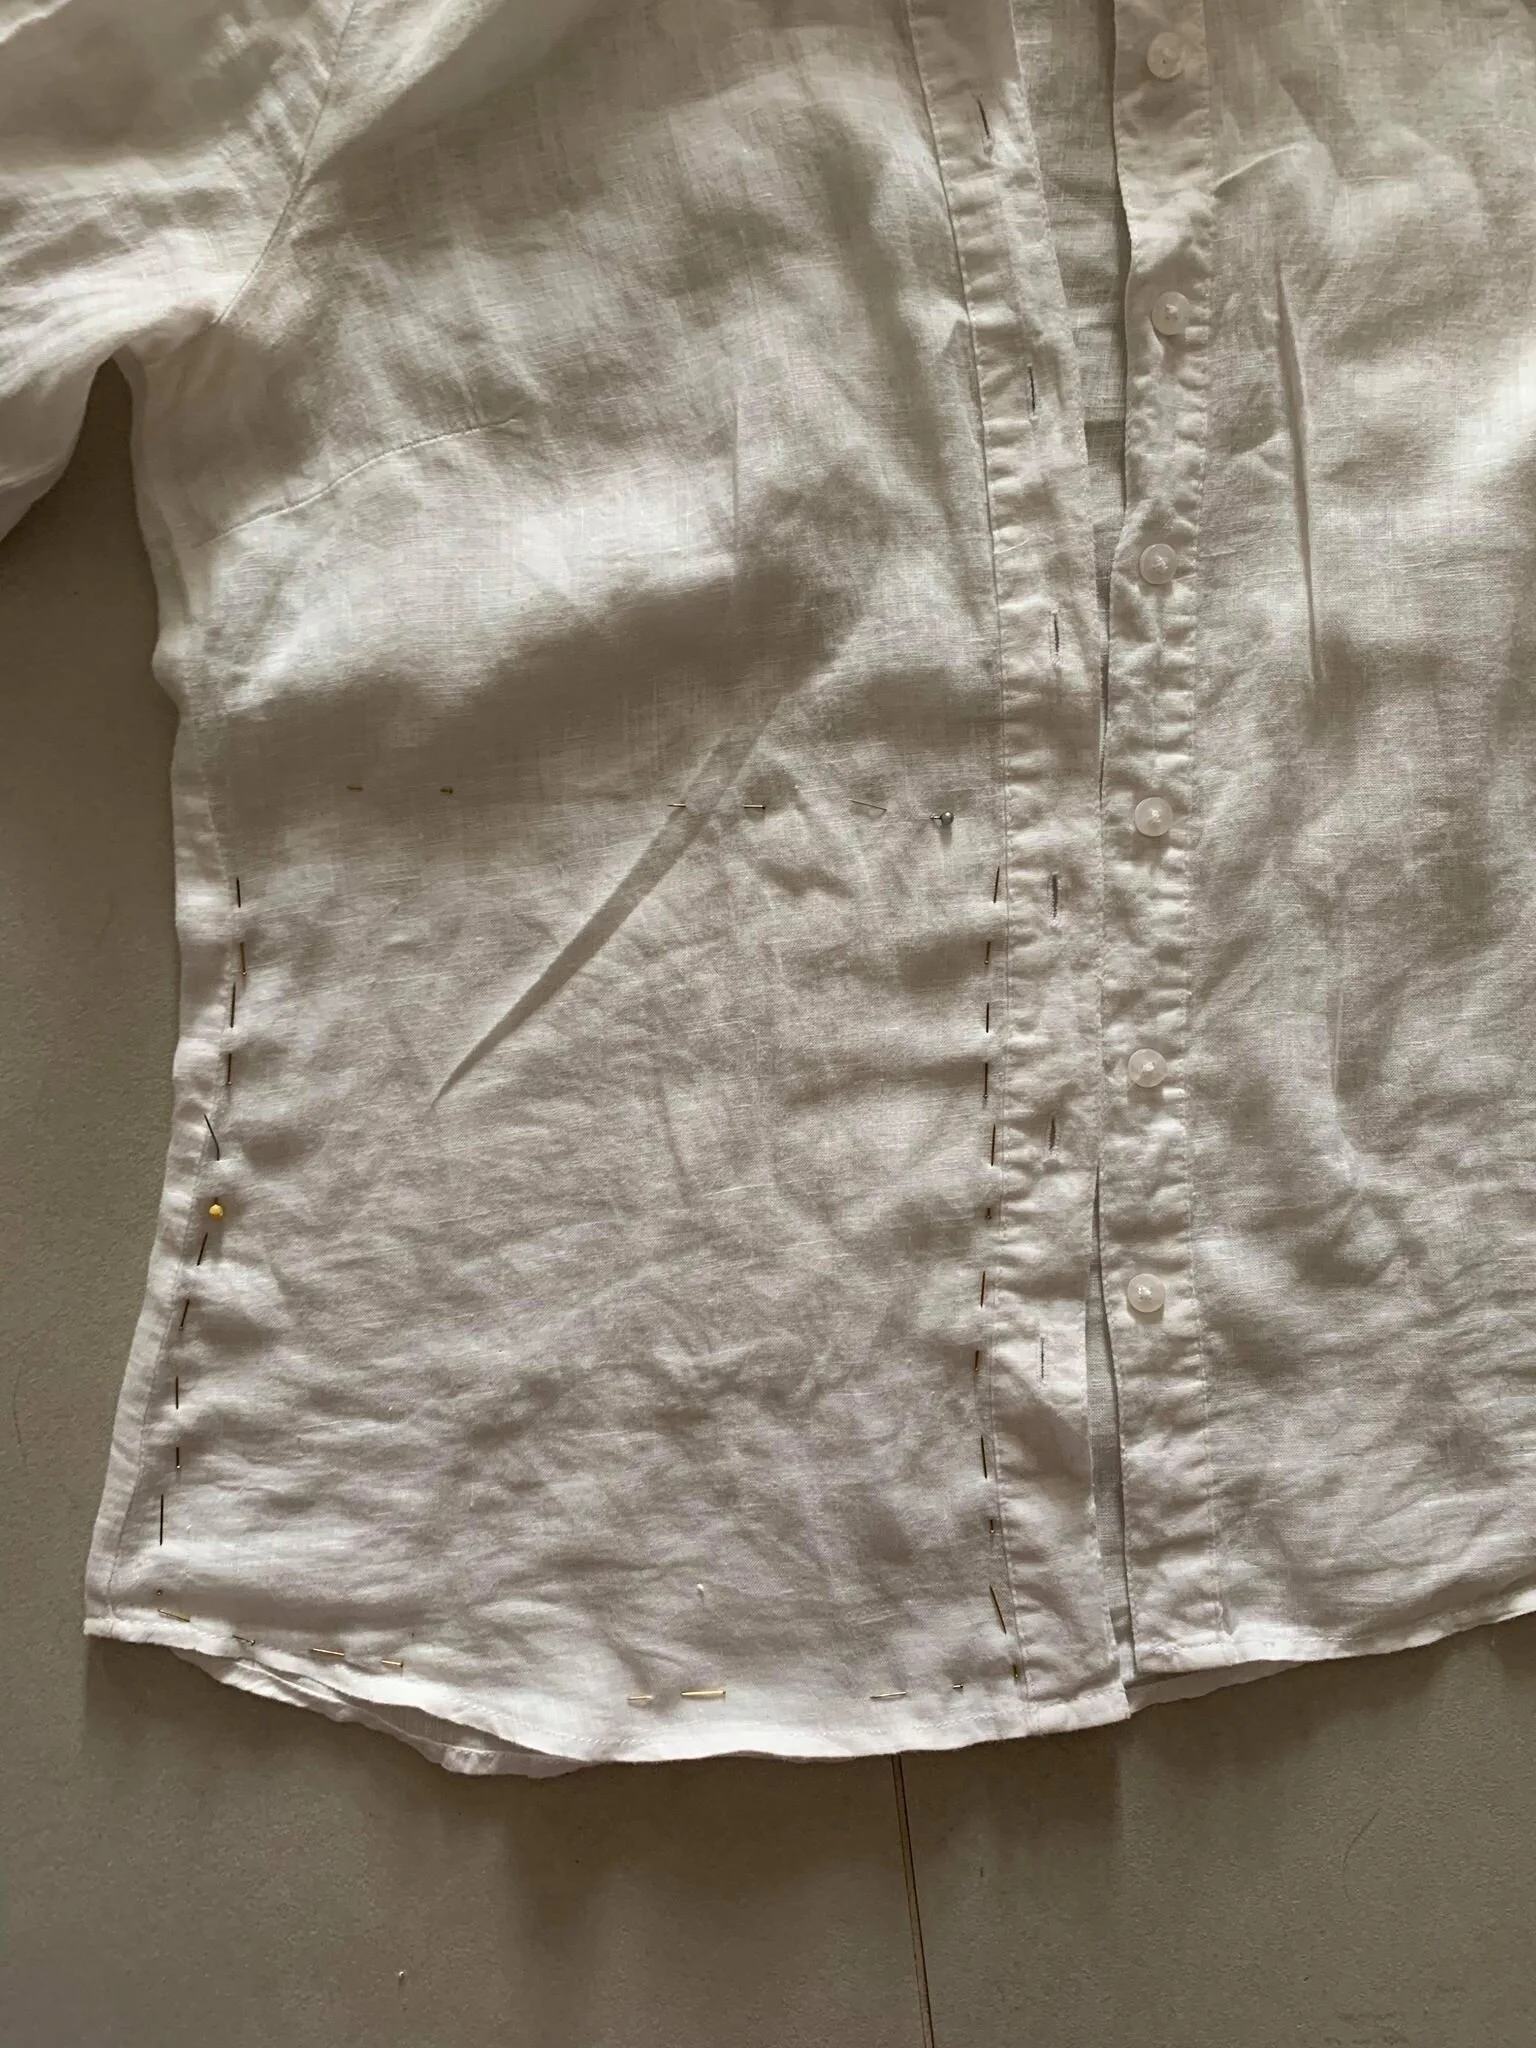


As shown here, I pinned around where I wanted to cut out my first square. I included both the front and back layers of the shirt with these pins. You may notice I am cutting around the existing seams of the garment. This is because I want to get rid of the synthetic thread used to sew this top. Synthetic fibres take between 10-1000 years to break down in landfill and I want these grocery bags to be zero waste(Maguire, Johnson, Taboada, Barner, Caldwell, 2019). So that when they are used, stained, torn and broken, they can simply be placed in your compost bin and biodegrade. We are turning a garment that was not zero waste into something that is.
Step 3: Cut. Once you have a rough idea wear you want to cut your squares from; go for it. Start cutting. Using pins to guide you helps to stay straight and not accidentally cut into an area you didn’t mean to.


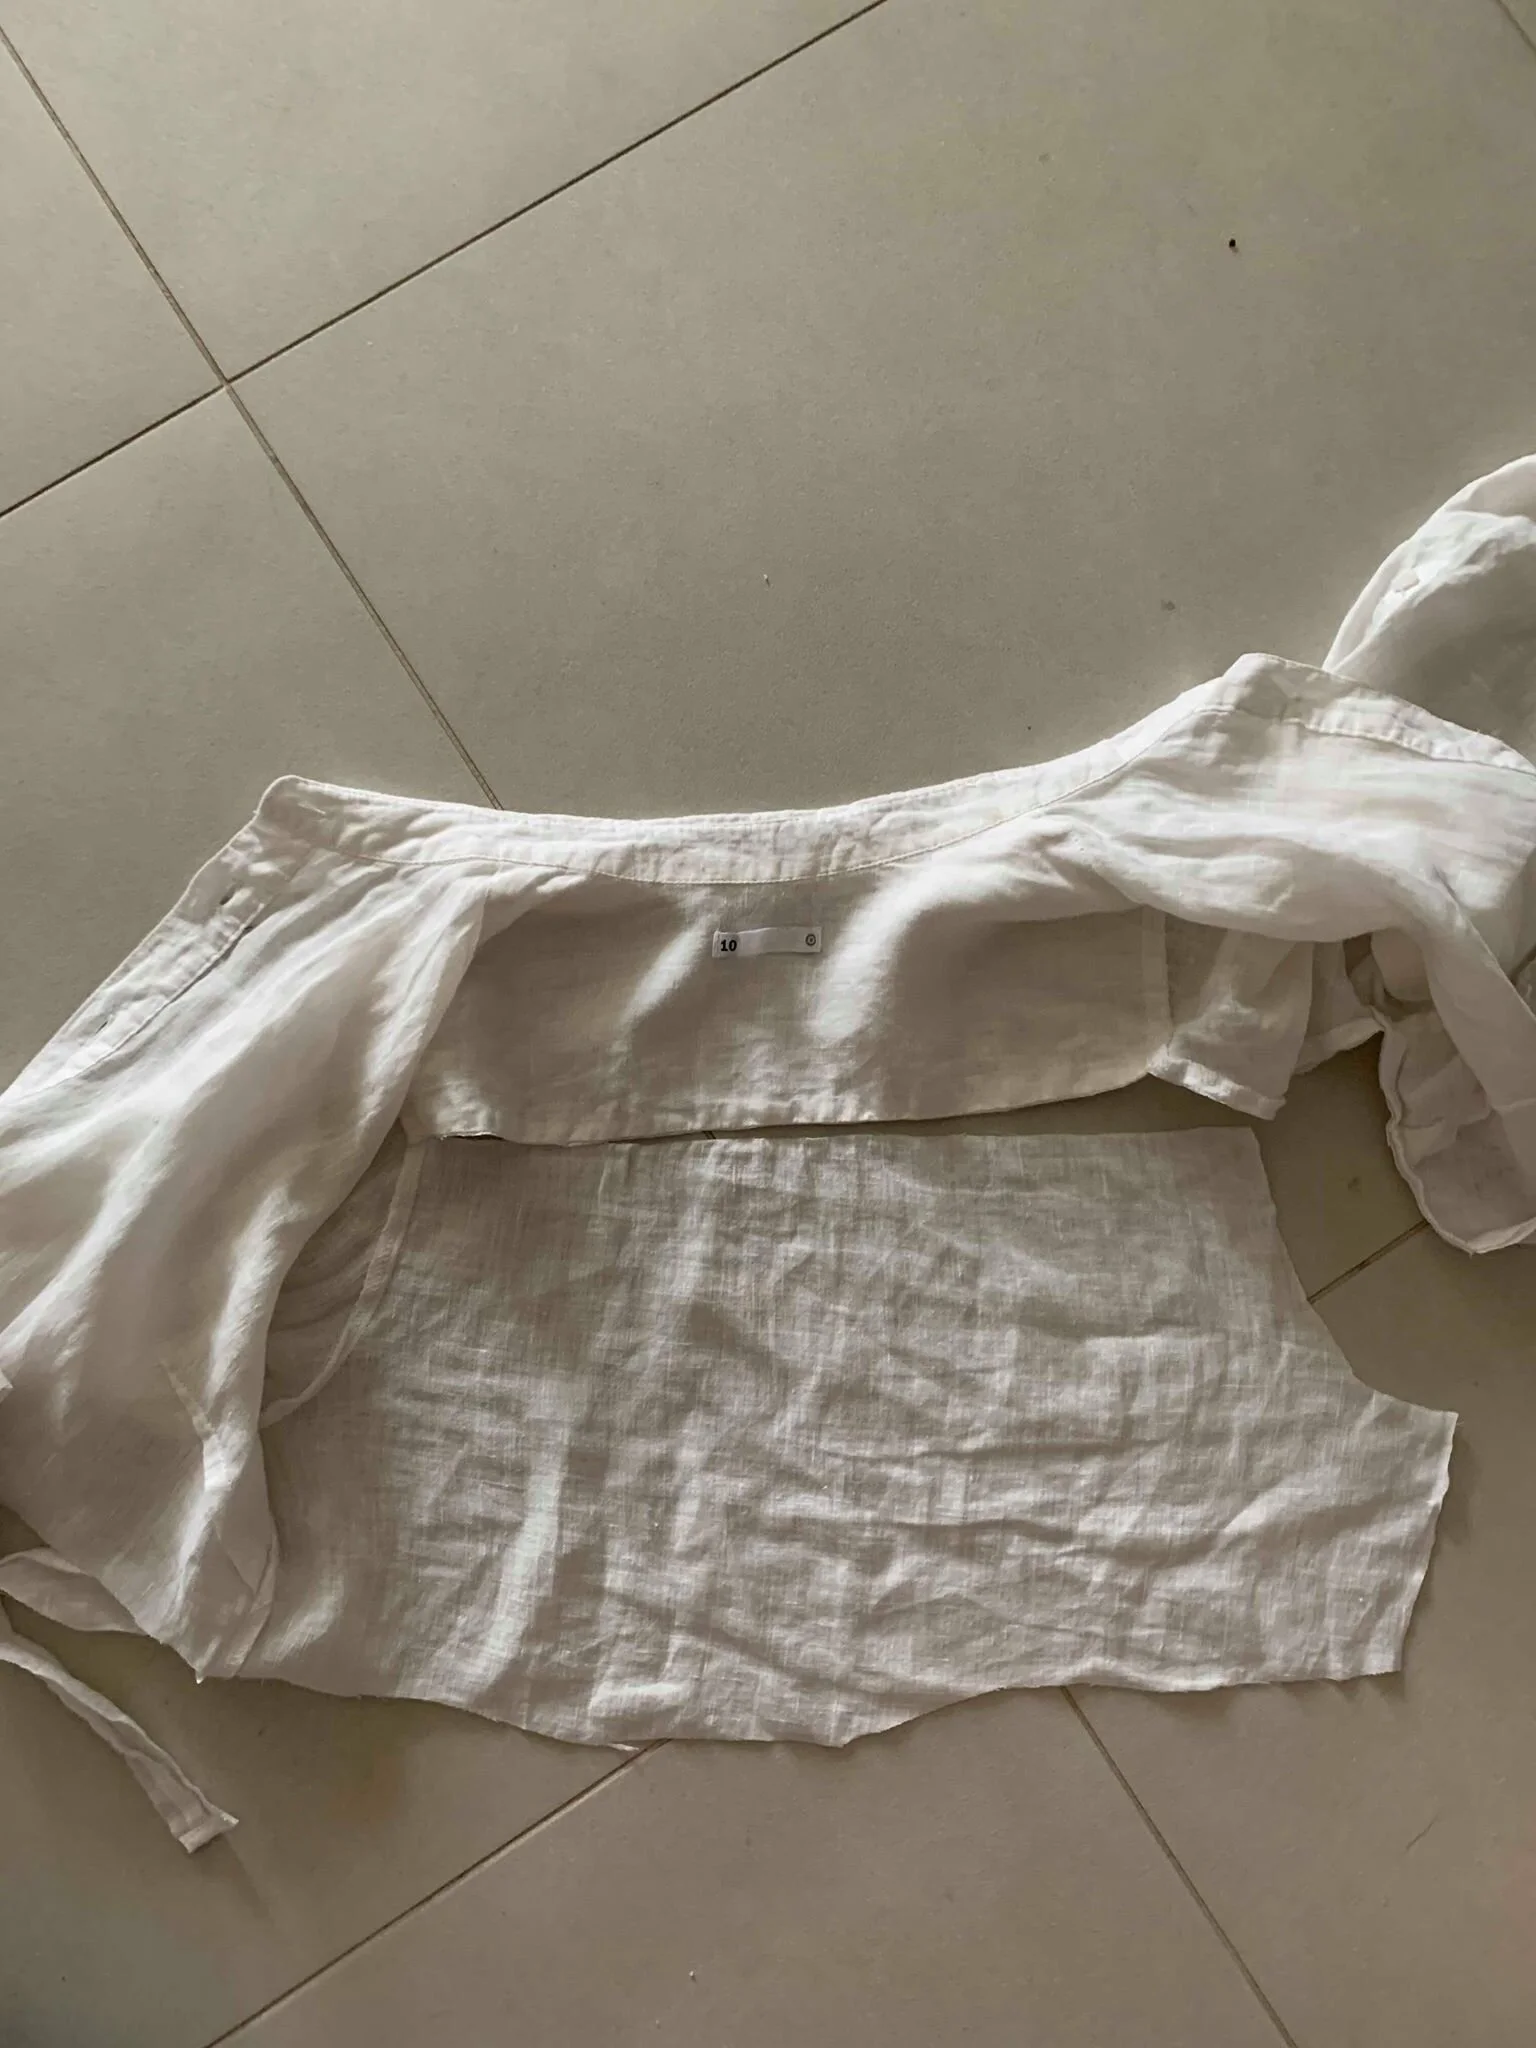
Don’t forget the sleeves! There is a surprising amount of fabric in the sleeves. As you can see, I cut away the seams and cuffs and made the most out of the fabric available.


After cutting away and using as much of the shirt as possible, I ended up with 6 pairs of squares/rectangles of varying shapes and sizes. Remember, every grocery bag will need a front and back piece of the same size to be sewn together.

Step 4: Pull out your iron and ironing board. Ironing down this next step is essential. It makes it so much easier to see what you need to sew and it keeps everything in place. Pinning down what you iron will also help with this.
Step 5: With your pair of squares on the ironing board, with right sides together, iron down a half a centimetre fold at the top of the first side. Then iron this down again with about a centimetre and a half seam.


Then fold in the side of the square, creating a neat corner with no raw edges exposed. Iron this down and pin in place.


Repeat on the other square of fabric.
Step 6: Pull out your sewing machine! Using a sewing machine makes this process a lot quicker and easier, however if you don’t have one or don’t feel confident with a machine, you can definitely hand sew these bags.
Step 7: Thread the machine. Using matching thread will make these bags look seamless, however to make it easier for you to see what I am sewing, I have used a slightly different colour thread, light pink.
Step 8: Stitch using a straight stitch across the fold we just created, staying as close as you feel comfortable to the edge of the seam. Use your needle placement as a guide for sewing in a straight line.


Repeat on pair.
Step 9: Place the two squares together with the right side of the fabric together, keeping the hem we just sewed on the outside. Pin around the side and bottom seams.
Step 10: Using a straight stitch again, sew around the sides of the square, leaving a 1.5 centimetre seam allowance. Be sure not to sew through the hem that we made at the top of the fabric, as we need to keep this open in order to add a drawstring later.


Step 11: As we are using linen in this example, the fabric has a tendency to fray. To combat this, sew a zigzag stitch all around the raw edge.


Step 12: Turn the bag inside out and that is the base of the bag finished! Now for the drawstring. If you have any left over materials, this is where we can use them to create the drawstring. In my example, I had the front panel where the button holes were sewn left over. The edge of this was already finished and so I simply folded it in half long ways and sewed a straight stitch along the edge.


Step 13: Threading the drawstring. For this step, I found it easiest to use a bobby pin. As shown here. Hook the end of the fabric into the bobby pin and push the pin through the gap in the hem.


This worked quite well as a drawstring, however, as I mentioned before, I would like these grocery bags to be biodegradable and the stitching on this panel is synthetic. As an alternative, I had this hemp twine in my sewing kit. Another natural fibre, that will biodegrade. I also liked how this looked with the linen of the grocery bag. Tying a knot in the end of the twine will stop it from fraying and will also stop it from unthreading through the hem.

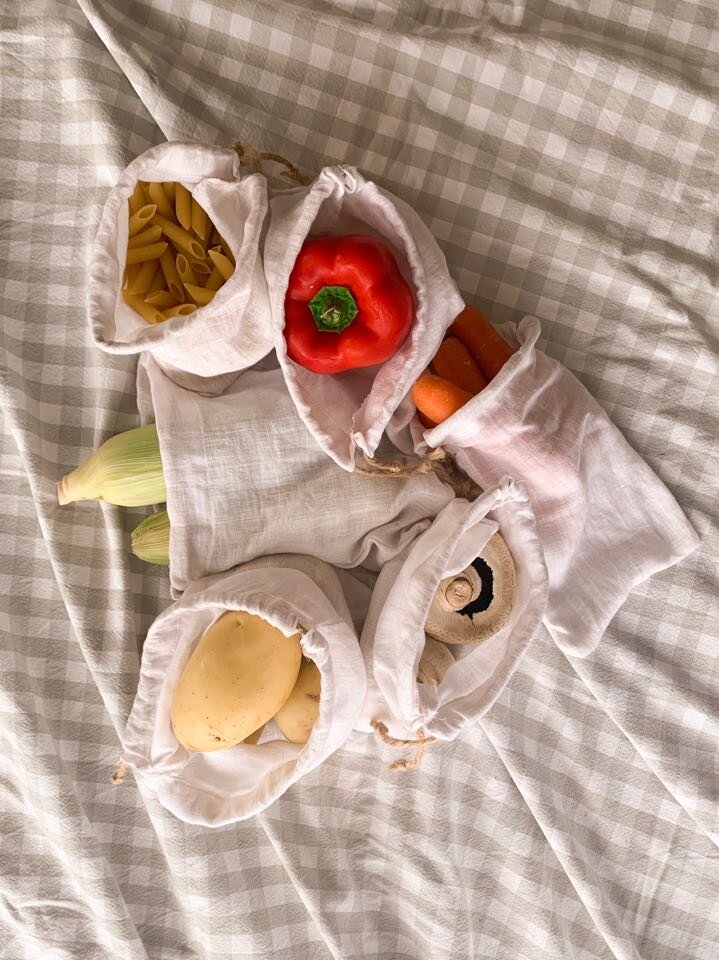
Step 14: Enjoy! Be the most stylish shopper at your local Coles or farmers market with your reusable grocery bags. If they get a bit dirty, throw them in the wash and use them over and over until the very end, when you can place them with your food scraps in the compost bin.


References:
Fast Facts – Nacro. (2019). Retrieved 19 October 2019, from https://www.nacro.org.au/fast-facts/
Maguire, R., Johnson, H., Taboada, M., Barner, L., & Caldwell, G. (2019). A review of Single-use Plastic Waste Policy in 2018: What will 2019 hold in store? Faculty of Law Blog, Queensland University of Technology.